Tropical Paradise Melt & Pour Soap Recipe
tropical soap group
By Lisa Maliga, © 2015
When I go to a party store and see the vibrant luau section, I always want to buy the tiki lamps, hula skirts, leis, colorful napkins and paper plates and throw a big party. Doesn’t matter what time of year, it represents that perpetual summer—which can be good if you like warm weather and tropical scenes.
I decided to create a fun recipe to share with you. When the soaping bug hits, it hits hard and this’s the result. Tropical Paradise is a little more involved than a basic single pour method, but not much. Plus, the results are more 3-D!
I chose white soap base as that's what I had on hand and I wanted a pastel colored theme rather than neon colors. Of course, you can use clear soap base and have a more dramatic looking contrast between clear soap and bright green or whatever color you choose mini palm tree embeds.
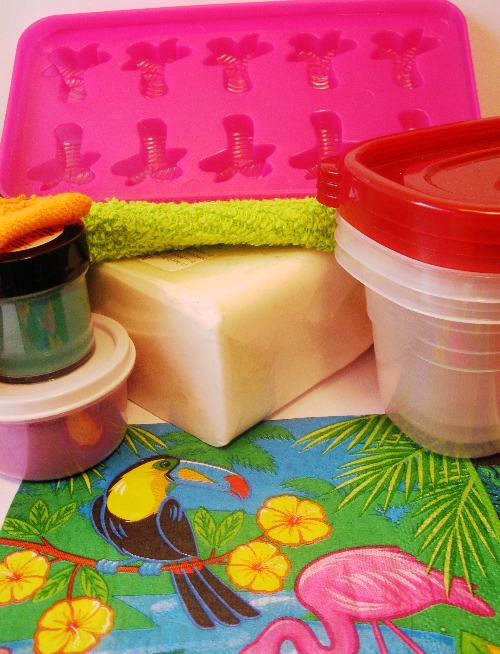
Both molds came from the discount store and cost $1 each. One is a storage container; the other is a plastic ice cube tray. Pictured here are the ingredients including, from left to right: containers of mica, white soap base, ice cube tray, and storage containers. The colorful tropical themed napkin is sold in a package of 20. The napkin can be used for wrapping but only after the soap has first been wrapped in cling wrap--otherwise the colors will run.
Ingredients:
1 pound white or clear soap base
Green mica
Pink mica
1 teaspoon tropical type fragrance oil [mango, coconut, pineapple, orange, tropical blend, etc.]
Molds:
3 oval or rectangular molds [4 oz each]
8 cavity mini palm tree molds [approx. 2 oz total]
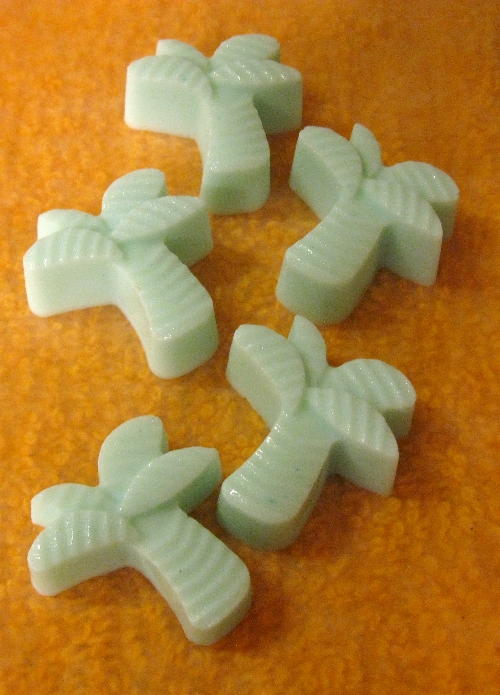
tropical soap trees
Instructions for Palm Tree Mold:
Slice the soap base into small cubes. Just before the soap is fully melted, add the colorant. Adding fragrance to them is optional. Stir well. Slowly pour into the molds. Spritz away bubbles with rubbing alcohol. Allow soap to harden in fridge, freezer, or remain at room temperature. Remove from molds. This soap will solidify within minutes. Remove and set aside.
NOTE: If you live in an area with low humidity, it’s best to allow this soap to freeze so that it’ll be even easier to keep the little soap inserts/embeds from melting when pouring the second layer.
Instructions for Oval/rectangular Mold:
Prepare your molds by placing one to three of the mini palm trees on the bottom.
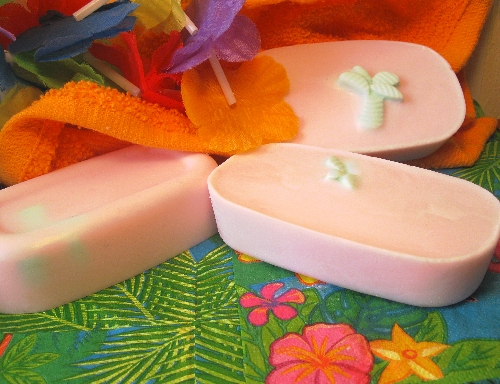
tropical soap bars
Slice up soap base into small cubes and melt. Stir well and add colorant. Add fragrance. Don’t pour it when it’s too hot, make sure it’s cooled down so it won’t melt the mini palm tree embeds. Then pour a small amount into molds, about half the size of your intended soap bar [2 ounces or so]. Spritz away any bubbles with rubbing alcohol. Allow soap to harden slightly. Test this by touching it gently with your finger. The surface should be firm but you'll feel a little give as it won't be completely solid. Now add more of the mini palm trees. Pour the rest of the soap so that it covers them, although you can have it so the palm trees stick out! Allow to solidify. Once it's hardened remove from the mold. Make sure soap is at room temperature before wrapping. Wrap in cling wrap and label.